Skywalker OG Seeds
Autoflower Seeds
6-Pack
$45.00
Availability: In stock
ends 4/19/26 at 5pm PST - Dutch passion, fast buds, green house, growers choice, kannabia & the bulldog
Applicable on selected products
start and ends 4/20/26 at 5pm PST - Dutch passion, fast buds, green house, growers choice, kannabia & the bulldog
Applicable on selected products
Skywalker OG Seeds by Origin Seed Co deliver a serene, relaxing experience with their earthy herbal notes, making them an ideal choice for evening tranquility.
- Genetics: Skywalker x (OG Kush x Ruderalis Auto)
- Flowering Time: 8-9 weeks
- Type: Seeds > Origin Seed Co > Origin Seed Co – Autoflower Seeds
Skywalker OG Seeds
Calming Effects and Robust Genetics
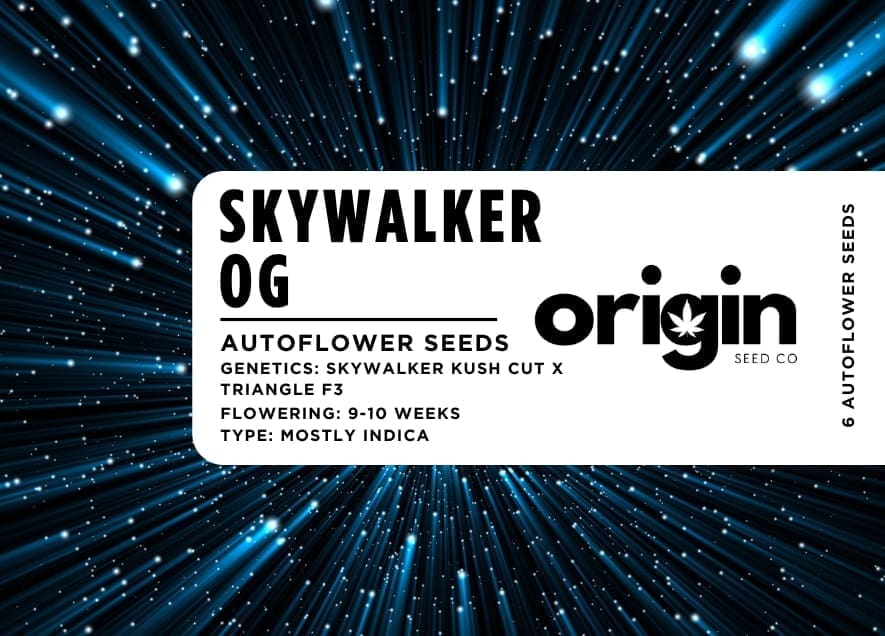
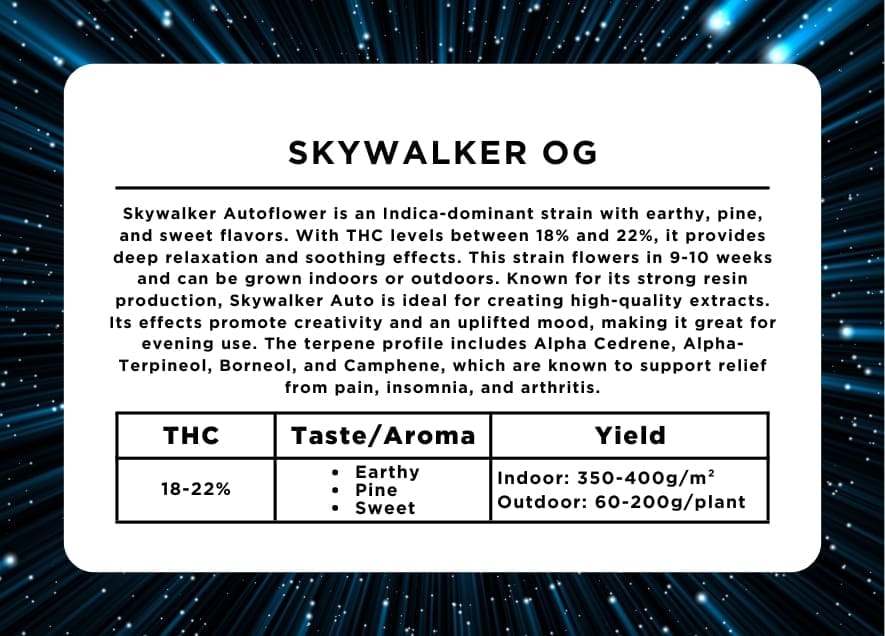
Skywalker OG seeds produce a predominantly Indica hybrid that combines the soothing effects of Skywalker with the legendary traits of OG Kush. Known for its earthy and herbal flavors, this strain is perfect for evening relaxation or unwinding after a busy day. Its autoflowering genetics make it beginner-friendly, offering fast growth and a rewarding yield.
Skywalker OG Genetics
The lineage of Skywalker OG stems from the classic cross of Skywalker and OG Kush, resulting in a balanced hybrid with deeply relaxing effects. This strain inherits the calming properties of its Indica-dominant genetics while delivering a subtle cerebral uplift, making it ideal for stress relief and winding down.
Is it Indica or Sativa?
Skywalker OG leans heavily toward Indica, providing a full-body relaxation experience without overwhelming sedation. Its hybrid qualities make it a versatile strain, offering physical calmness paired with a light mental clarity.
Growing Skywalker OG Seeds
Germination Guide
Follow these steps to ensure successful germination:
- Place seeds between moist paper towels on a plate.
- Cover with another plate to create a dark, humid environment.
- Keep the setup at 70-90ºF, ensuring the towels remain moist.
- Germination typically occurs within 24-120 hours.
Flowering Time
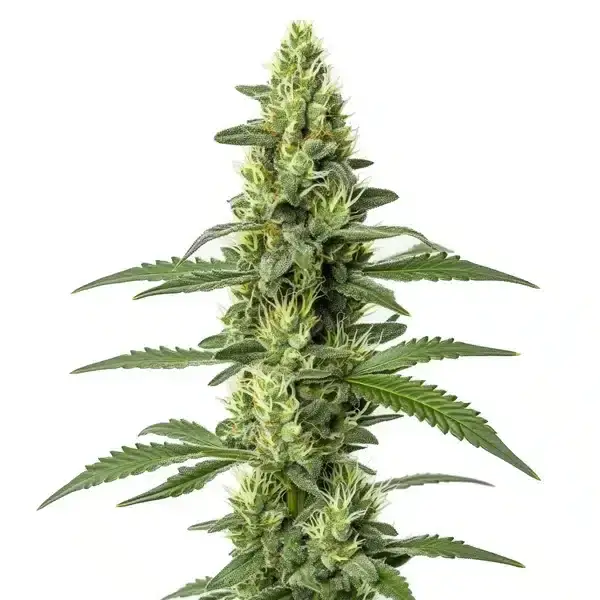
Skywalker OG seeds flower in just 8-9 weeks, producing dense, trichome-coated buds. These compact plants are ideal for growers seeking a quick turnaround and are suitable for both indoor and outdoor environments.
Growing Tips
- Skywalker OG thrives indoors due to better climate control, but it also adapts well outdoors.
- Provide adequate space for its bushy structure.
- Use quality substrates like coco coir or perlite to improve moisture retention and nutrient delivery.
- Regular pruning helps enhance light penetration and airflow.
Aroma and Terpenes
Aroma Profile
Skywalker OG emits a mellow aroma of earthy and herbal notes with hints of pine. Its smooth, natural fragrance creates a relaxing atmosphere, enhancing the overall experience for those who enjoy organic and balanced flavors.
Terpene Breakdown
- Myrcene: Dominates the terpene profile, contributing to deep relaxation.
- Limonene: Adds a touch of citrus brightness for balance.
- Caryophyllene: Introduces a subtle spicy, peppery note to round out the flavor.
Experience Skywalker OG Strain
Skywalker OG seeds grow into a strain that’s perfect for unwinding. Its calming effects are ideal for relaxing evenings, stress-free moments, or managing discomfort. With earthy, herbal flavors and a smooth aroma, Skywalker OG provides an unparalleled relaxation experience, making it a go-to choice for Indica enthusiasts.
Seed Germination Instructions
for cannabis seeds
Step 1: Soak the seeds
- Fill a glass with clean, room-temperature water (68-77°F / 20-25°C).
- Use filtered, dechlorinated, or pH-balanced water to prevent contaminants.
- Drop the seeds into the water and gently swirl to ensure full submersion.
- If seeds float, tap them down lightly or leave them to absorb water.
- Optional: Add 3% hydrogen peroxide (H₂O₂) at a ratio of 1 ml per 100 ml of water to prevent mold and bacteria.
- Place the glass in a dark, warm location for 2-6 hours (do not exceed 12 hours to prevent drowning).
Step 2: Prepare the Germination Plate
- Dampen two layers of paper towel, cotton, or thick toilet paper with clean, dechlorinated water.
- If using toilet paper, fold multiple plies to ensure adequate thickness.
- Place seeds evenly between the layers, ensuring they do not touch each other.
- Towels should be moist but not soaking wet.
- Set the damp towel on a plate and cover with another plate or place it inside a resealable plastic bag to retain moisture.
- Store in a dark, warm location (70-78°F / 21-26°C) such as a drawer or cabinet.
- Check the moisture level every 6-12 hours and add water as needed to prevent drying.
- Expected Germination Time:
- Most seeds crack open within 48-72 hours.
- Some may take 5-6 days to show taproots.
- Older seeds or seeds with a tougher shell may take up to 10-15 days to sprout.
- If a seed has not sprouted within 10 days, gently check it for signs of swelling or softening.
Step 3: Monitor Germination
- Seeds typically crack open and develop a taproot within 48-72 hours, but some may take up to 5-6 days.
- Older or dormant seeds may take 10-15 days to sprout, especially if they have a thicker shell.
- Check regularly for signs of mold or fungal growth.
- If mold appears, replace the paper towel and rinse seeds in a diluted hydrogen peroxide solution (1 ml of 3% H₂O₂ per 100 ml water).
- The seed is ready for planting when the white taproot emerges and reaches ¼-½ inch (0.6-1.3 cm).
Step 4: Planting the Seeds
- Prepare a pH-balanced growing medium (pH 5.5-6.0) such as:
- Quality soil-perlite mix
- Coco coir with perlite
- Rockwool cubes (must be pre-soaked in pH 5.5 water)
- Plant the seed 2-5 mm deep, with the root tip facing downward.
- Use containers that are at least 10 cm (4 inches) deep with drainage holes for healthy root development.
- Lightly cover the seed with soil—do not press down too hard.
- Spray the top layer with water instead of drenching it.
Step 5: Initial Care for Seedlings
- Keep the growing medium moist but not waterlogged—spray with a spray bottle instead of overwatering.
- Maintain high humidity by:
- Covering containers with clear plastic wrap or a humidity dome.
- Ensuring there is some airflow to prevent mold buildup.
- Place seedlings under cold white LED or fluorescent lights or in indirect sunlight at 68-77°F (20-25°C).
Step 6: Gradual Exposure to Light
- Once seedlings emerge and develop their first set of leaves (cotyledons):
- Slowly introduce them to stronger light sources.
- Start with low-intensity LED, CFL, or indirect sunlight, then gradually increase exposure.
- Keep grow lights at a safe distance:
- LEDs: 12-24 inches (30-60 cm) above seedlings.
- HPS/MH: 24-36 inches (60-90 cm) above seedlings.
- If transitioning to outdoor sunlight:
- Harden seedlings off gradually by placing them outside for short periods each day.
Additional Tips
- Use filtered rainwater, bottled water, or dechlorinated tap water.
- Maintain humidity levels between 70-80% for optimal germination.
- Avoid handling the taproot directly, as it is delicate and can be easily damaged.
- If using rockwool cubes, pre-soak them in pH 5.5 water before planting.
- Germination rates depend on strain genetics, seed age, and storage conditions.
Seeds may take longer to sprout if conditions are too dry, cold, or hot.
Failure to follow these steps may reduce germination success and replacements are unlikely.
By following these steps, you’ll achieve healthy, vigorous cannabis seedlings ready for strong growth. 🌱


